


One of the most fundamental processes in scientific photography is the ability to perform geometric measurements on the image itself in order to determine distances, areas, or angles of the shapes or objects contained in our scene.
For this type of calculation on an image, we will use the well-known tool ImageJ, which I have already discussed in other articles as it is the most relevant software for image analysis that we can find in the world of free software.
Obviously, we must have an image free of geometric distortions since otherwise the measurements made on the image will be distorted.
To begin, we can go to the Analyze > Set Measurements menu where we can choose the type of measurements we want the Measure command to provide us, since many of these functions are not related to dimensional aspects of the image and end up clouding the measurement window.
 The next step is to assign the scale to the image; for this, it is essential that there is a recognizable dimensional reference in our scene, such as the usual scale, paying attention that it does not have perspective aberrations since the dimensional reference will be distorted.
With the freehand line tool, we draw a segment over the surface of our scale. Then we activate the Analyze>Set Scale menu, and in the Known Distance field, we write the supposed dimension of our scale or reference distance, and units; in my case, I used the scale of my Colorchecker Passport of 5cm.
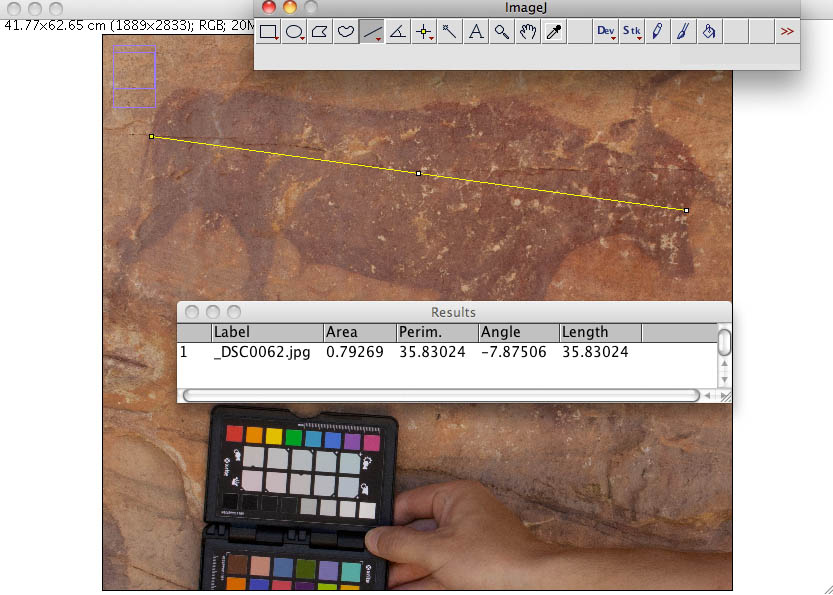 At this point, we are ready to draw segments or polygons on our image and measure them; the Analyze>Measure menu will open a new window with the dimensional estimates of our segment or polygon.